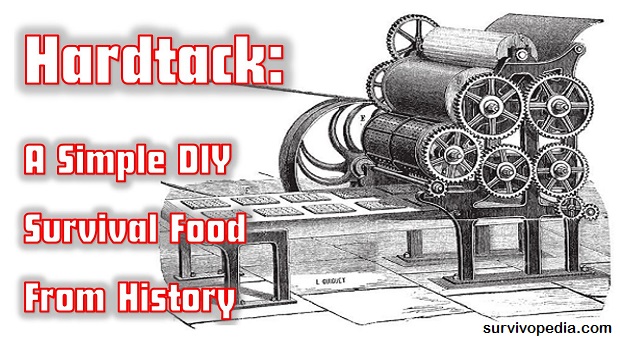
With only two ingredients and a little time you can stockpile a survival food that’s been used for centuries. Let’s take a lesson out of the history books and learn from various soldiers, sailors, and explorers throughout time.
It’s time to look at hardtack.
Hardtack is a simple survival food. It’s really inexpensive to create, and lasts for years. In fact, there’s still some on display from the Civil War that’s still good.
The most basic of recipes call for only two ingredients: all-purpose flour and water. Other recipes call for additional ingredients, but the basic recipe has stood the test of time. We’ll start with that one.
Hardtack provided nutrition for hard times throughout history. It’s a good source of carbohydrates. If you keep it and protein-rich pemmican in your bug out bag, you’ll have sustenance to keep you alive for a while.
It’s also a good addition to your supply of emergency food. You just have to ensure you keep it away from pests and moisture. If the bugs get it, you’ll find weevils living in your stored food. If the hardtack gets wet, it’s prone to mold.
Making Hardtack
 Hardtack is simple to prepare. Before you begin, turn your oven on to 350 degrees.
It won’t take long to mix your hardtack up and you want your oven ready when you are.
Now, get yourself a big bowl. Measure out two cups of all-purpose flour and dump in.
Next, slowly add a half-cup of water and stir.
Keep adding water, a tablespoon or two at a time.
Your goal is to achieve a thick dough that’s just slightly sticky. A thick playdough type consistency.
While many recipes tell you exactly how much water to add, it really varies quite a bit. Your humidity, the dryness of your flour, and the type of flour you’re using all play an important role.
A rough estimate is ½ the amount of flour. So for two cups of flour, you’d need about one cup of water.
If you accidentally add too much water and your dough is pasty, just add some more flour. Once it’s the right consistency, mix it for a couple of minutes. This will ensure your moisture is evenly distributed throughout the whole batch.
Now it’s time to roll out your dough. A rolling pin works best, but in a pinch you can just pat it out with your hands. You’ll want to roll the dough until it’s somewhere between ½ an inch and a ¼ of an inch thick. Any thicker, and it’ll be even harder to eat when it’s dried.
Once it’s thin enough, you can cut the dough. A pizza cutter works really well, but so does a sharp knife. If you want your hardtack to look uniform, you can pull out a ruler and cut it into 3X3 pieces. Or use a biscuit cutter and have round pieces. Otherwise, just cut it into rectangles that are roughly the same size.
Grab a chopstick or a clean nail, and dock each piece. Docking means you poke holes in it, but don’t go all the way through. You’ll want to poke about sixteen holes in each piece, with four rows of four. It’ll resemble a modern day saltine cracker.
Then flip over each piece and dock the other side. Docking your hardtack will keep it from puffing up in the oven. It’ll also help ensure the moisture gets out by allowing the steam to escape.
Place your docked hardtack pieces on a cookie sheet. You’ll want to bake them for 30 minutes. When the time is up, remove and flip over each piece.
Bake them for another 30 minutes before removing them from the oven. They should be fairly hard at this point.
You’ll want to set your hardtack pieces on a rack to continue drying. Let them sit out at room temperature for a couple of days. They’ll be hard as bricks when they’re fully dry.
Storing Hardtack
Proper storage is essential for optimal shelf-life. You can pack the hard tack into glass Mason jars, or metal tins. These will keep the moisture out better than regular Ziploc style bags.
You can also store them in vacuum-sealed bags. No matter how you keep them, you want to prevent moisture and bugs from getting in.
Source:Survivopedia.com
Leave a Reply